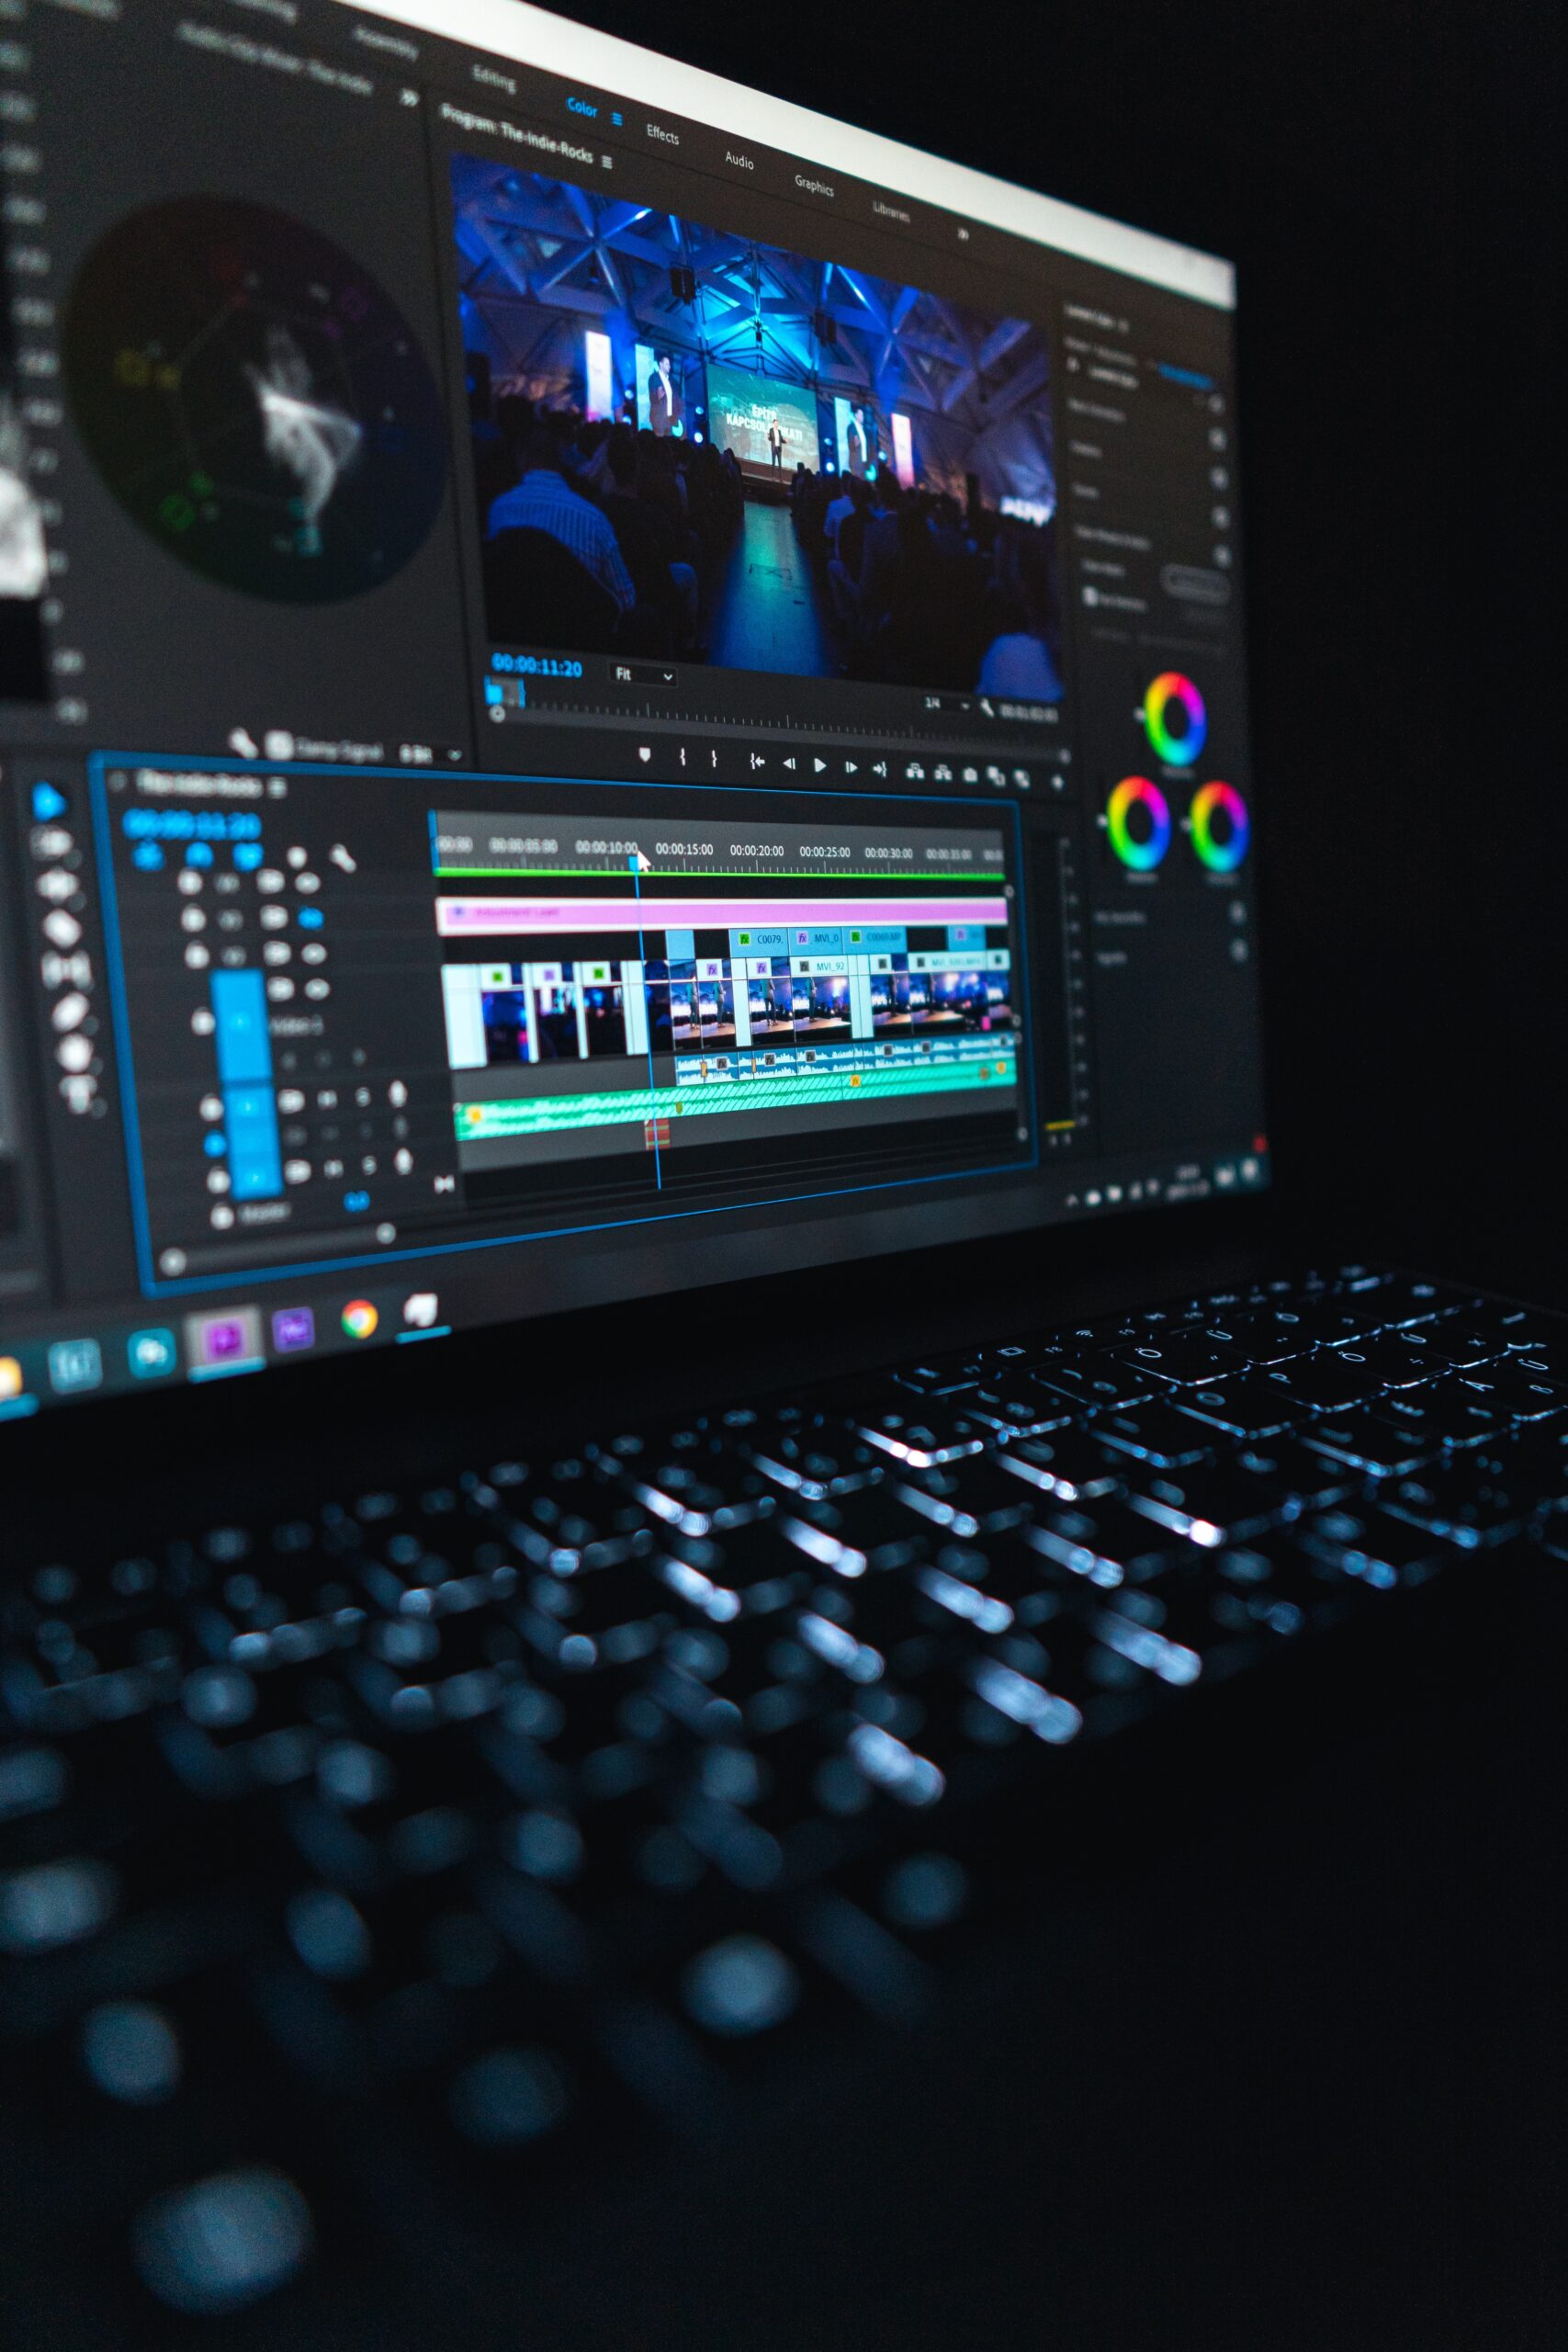
With the advancements in technology, it is now possible to edit professional-quality videos right from your iPhone. Whether you are a beginner or an experienced videographer, the iPhone offers a range of powerful editing tools that can help you create stunning videos on the go.
Here are some steps to guide you on how to edit a professional video on an iPhone:
1. Choose the Right Editing App
The first step in editing a professional video on your iPhone is to choose the right editing app. There are several options available on the App Store, such as iMovie, Adobe Premiere Rush, and LumaFusion. These apps offer a wide range of features and tools to enhance your video editing experience.
2. Import Your Footage
Once you have selected the editing app, the next step is to import your footage into the app. You can do this by connecting your iPhone to your computer and transferring the video files, or by directly importing them from your iPhone’s camera roll.
3. Trim and Arrange Clips
After importing your footage, you can start trimming and arranging your clips on the timeline. This allows you to remove any unwanted parts and create a seamless flow in your video. You can also rearrange the clips to create a specific sequence that tells your story effectively.
4. Add Transitions and Effects
To make your video more professional and engaging, you can add transitions and effects. Most editing apps offer a variety of transitions, such as fade in/out, dissolve, and slide. You can also experiment with different effects, such as color correction, filters, and overlays, to enhance the visual appeal of your video.
5. Enhance Audio
Good audio is crucial for a professional video. You can enhance the audio in your video by adjusting the volume levels, adding background music, or incorporating voiceovers. Some editing apps also offer advanced audio editing tools, such as noise reduction and equalizer, to improve the overall sound quality.
6. Apply Titles and Text
If you want to add titles, captions, or text overlays to your video, most editing apps provide options to do so. You can choose from a variety of fonts, colors, and styles to match the theme and tone of your video.
7. Export and Share
Once you are satisfied with your edited video, it’s time to export and share it. Most editing apps offer different export options, such as saving to your camera roll, sharing directly to social media platforms, or uploading to cloud storage. Choose the option that best suits your needs and share your professional video with the world!
Editing a professional video on an iPhone has never been easier. With the right editing app and a little creativity, you can create high-quality videos that rival those produced on traditional editing platforms. So, grab your iPhone and start editing!

