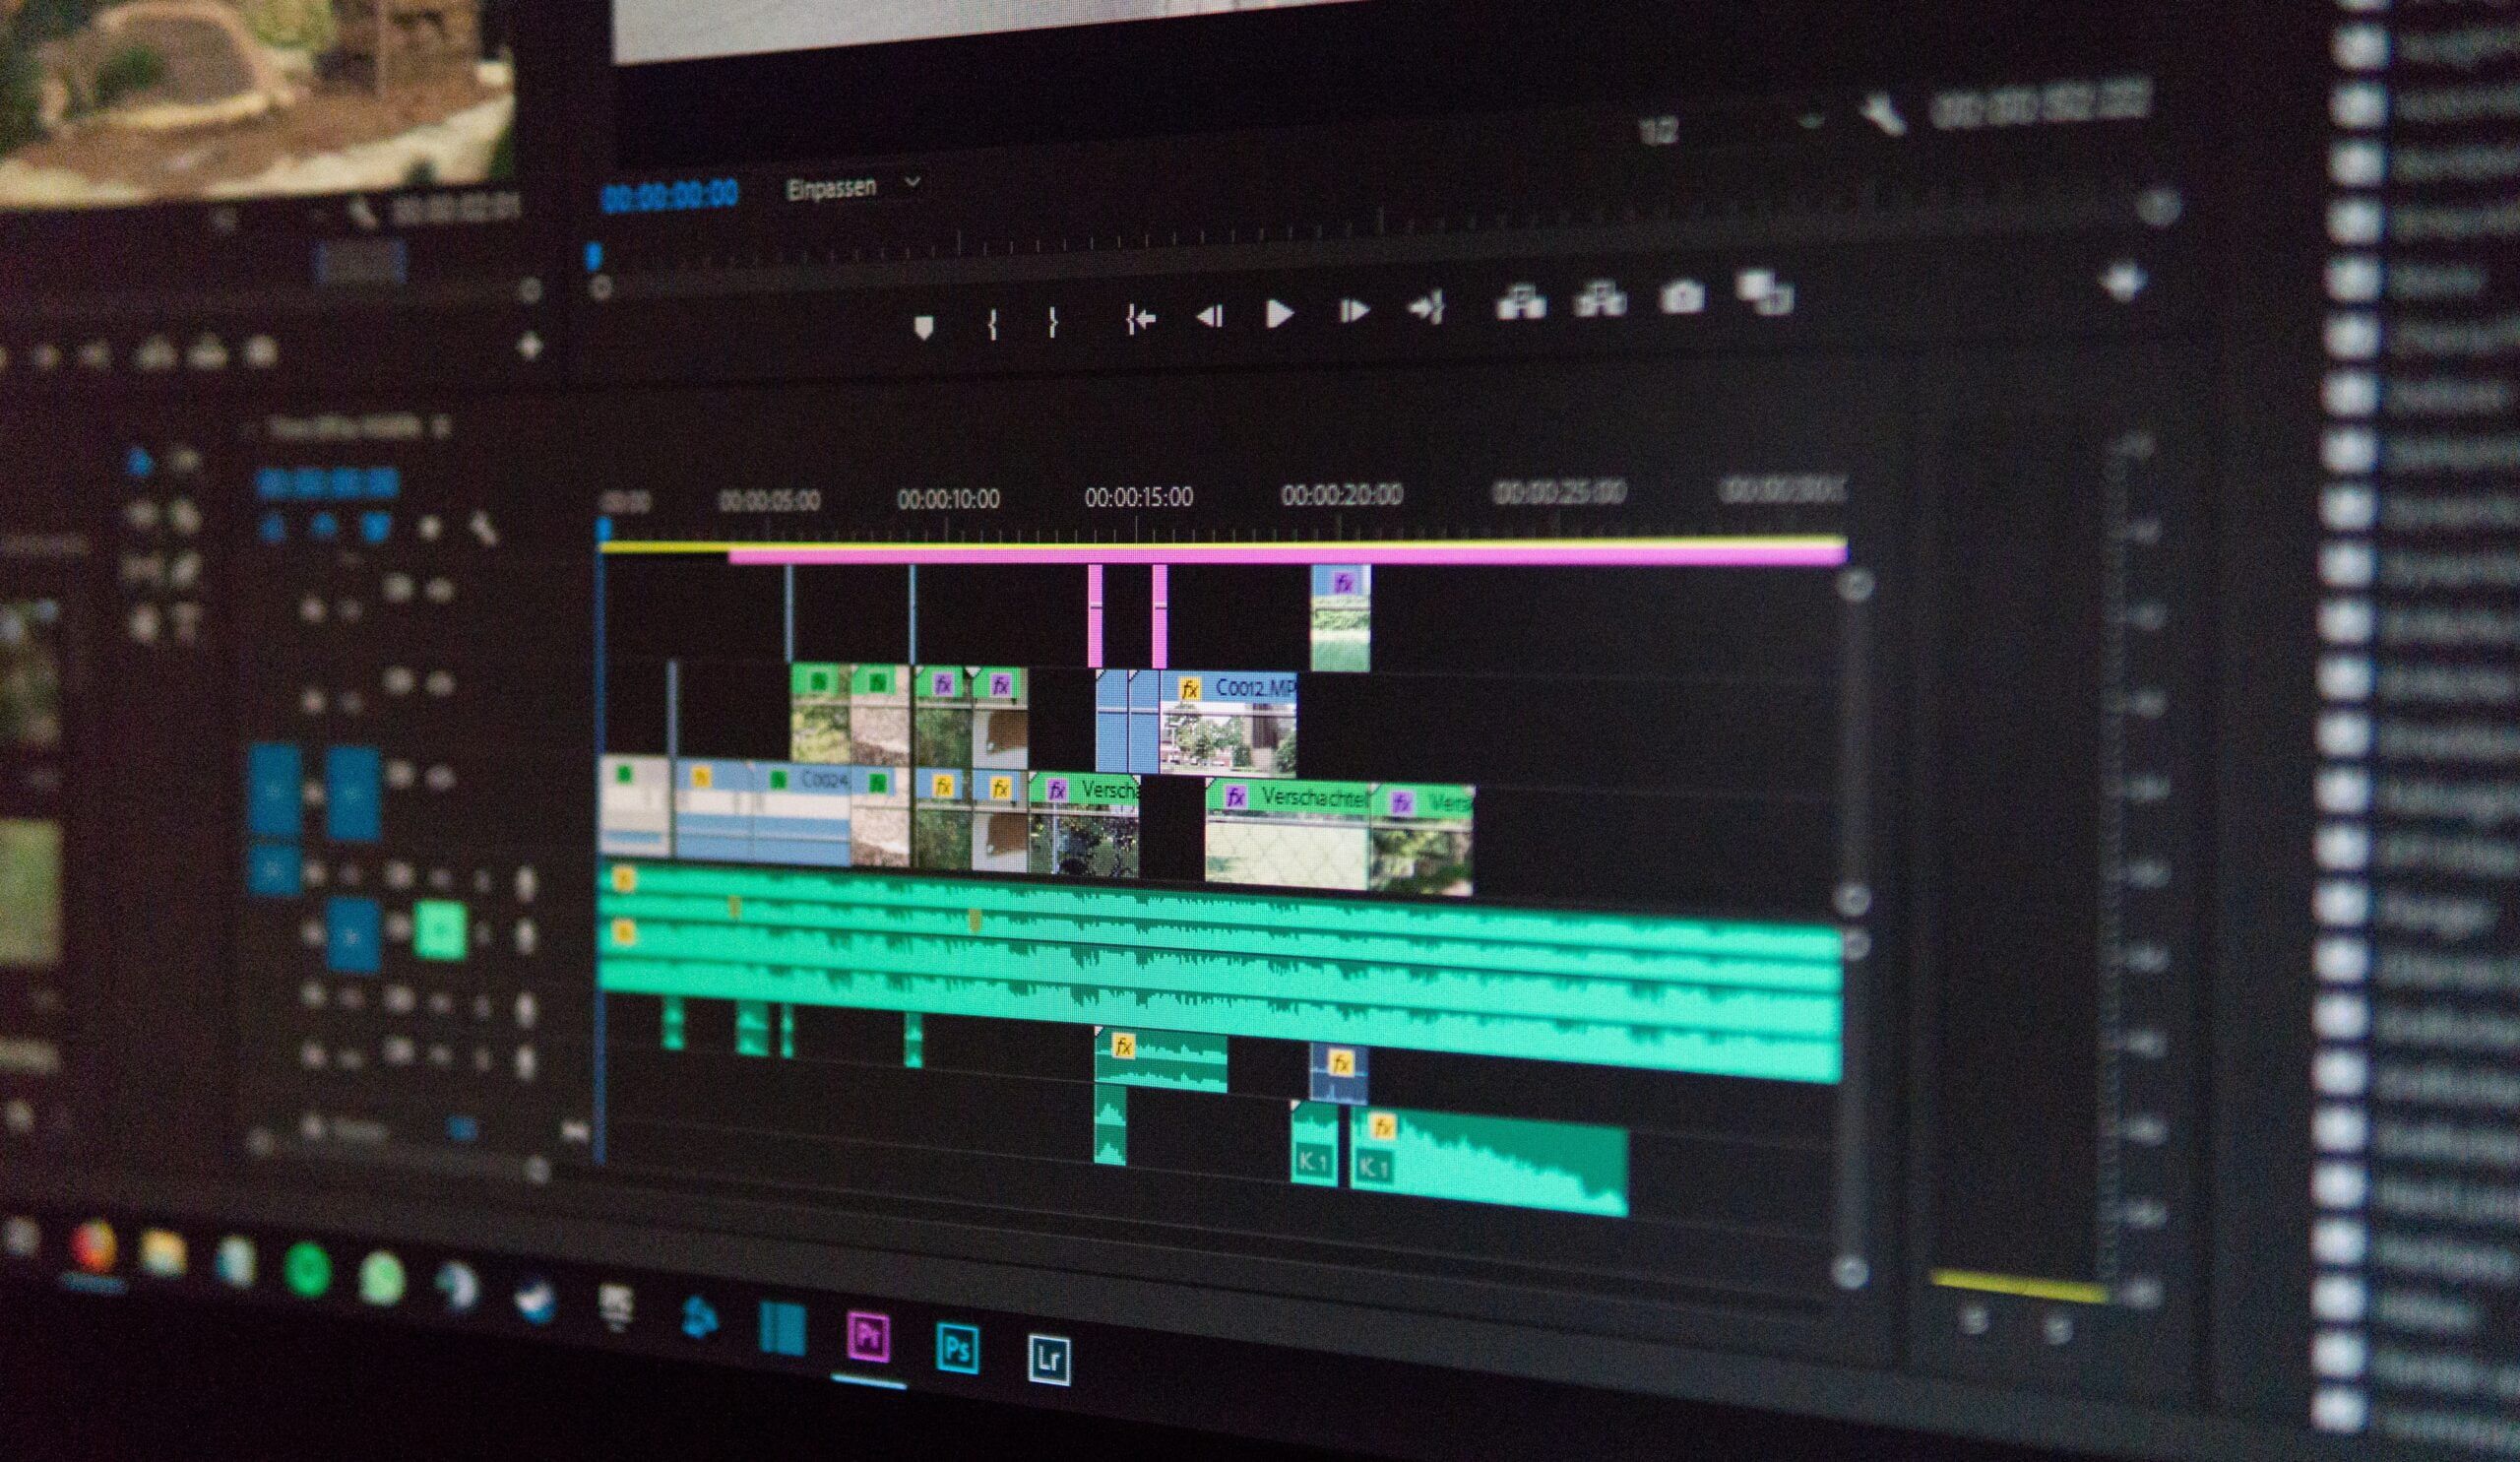
Is your Premiere Pro playback running at a snail’s pace?
Slow playback can be frustrating, especially when you’re trying to edit your videos efficiently. But don’t worry, there are several fixes you can try to get your Premiere Pro running smoothly again.
1. Update Premiere Pro
Make sure you have the latest version of Premiere Pro installed. Adobe often releases updates that address performance issues, so installing the latest version may solve your playback problems.
2. Adjust Playback Settings
Go to the Playback Settings in Premiere Pro and try lowering the playback resolution. This will reduce the strain on your system and improve playback performance.
3. Optimize Your System
Check if your computer meets the system requirements for Premiere Pro. If not, consider upgrading your hardware or optimizing your system settings to improve performance.
4. Clear Cache Files
Premiere Pro generates cache files while you’re working, which can slow down playback. Go to the Media Cache settings and clear the cache files to free up space and improve performance.
5. Disable GPU Acceleration
If you’re experiencing slow playback with GPU acceleration enabled, try disabling it. Sometimes, certain graphics cards may not work well with Premiere Pro, causing playback issues.
By following these steps, you should be able to fix the slow playback in Premiere Pro and get back to editing your videos smoothly. Remember to save your work and restart Premiere Pro after making any changes. Happy editing!

