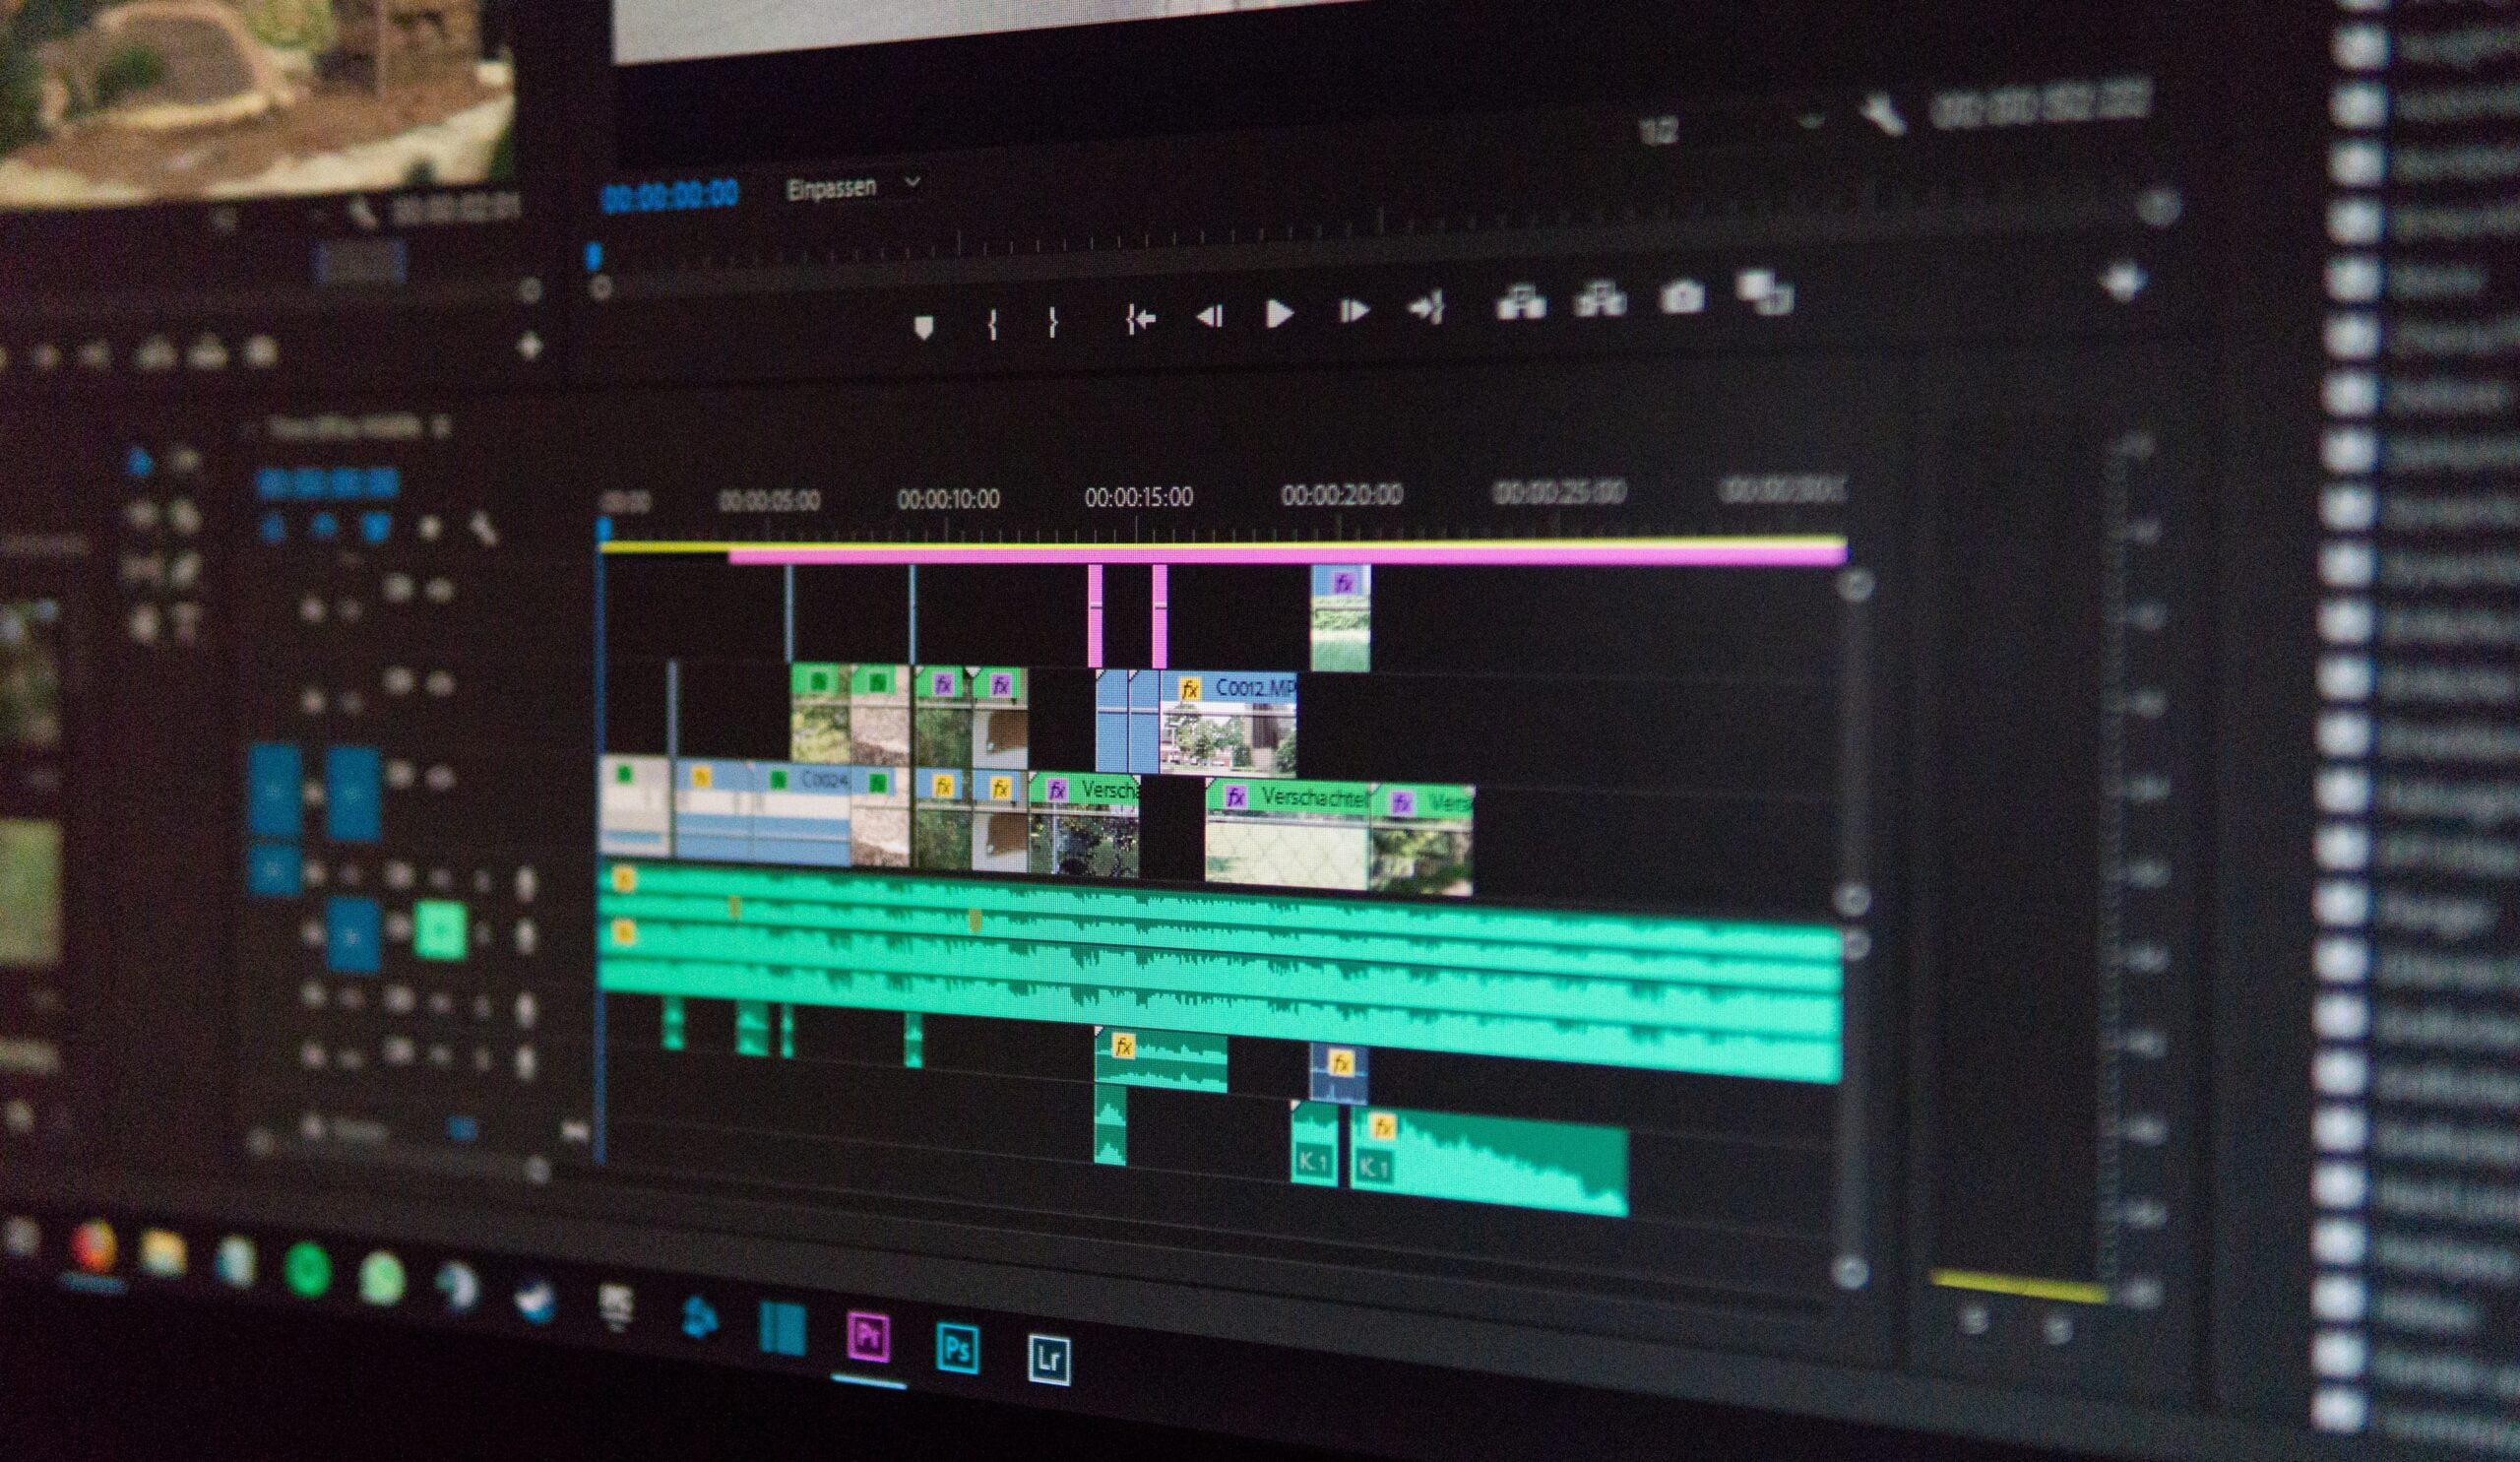
If you’re a video editor, chances are you’ve encountered the frustrating ‘Premiere Pro Media Offline’ error at some point in your career. This error occurs when Premiere Pro is unable to locate the media files associated with your project, resulting in a blank screen and the inability to edit or play your video.
But don’t worry, we’ve got you covered! In this step-by-step guide, we’ll walk you through the process of fixing the ‘Premiere Pro Media Offline’ error so you can get back to editing your masterpiece.
Step 1: Check the File Path
The first thing you should do when encountering the ‘Premiere Pro Media Offline’ error is to check the file path of your media files. Sometimes, the files may have been moved or renamed, causing Premiere Pro to lose track of them.
To do this, simply right-click on the offline media in the project panel and select ‘Link Media’. In the dialog box that appears, navigate to the new location of your media files and select the correct file. Premiere Pro will then relink the media, resolving the error.
Step 2: Clear Media Cache
If relinking the media files doesn’t resolve the ‘Premiere Pro Media Offline’ error, the next step is to clear the media cache. Premiere Pro creates cache files to improve performance, but sometimes these files can become corrupted or outdated, leading to playback issues.
To clear the media cache, go to the ‘Edit’ menu and select ‘Preferences’, then choose ‘Media’. In the Media preferences window, click on the ‘Clean’ button next to ‘Media Cache Database’ and ‘Media Cache Files’. This will delete all the cache files, and Premiere Pro will automatically rebuild them when you reopen the project.
Step 3: Update Premiere Pro
If the ‘Premiere Pro Media Offline’ error still persists, it’s possible that you’re using an outdated version of Premiere Pro. Adobe regularly releases updates to fix bugs and improve stability, so make sure you’re running the latest version of the software.
To update Premiere Pro, open the Creative Cloud desktop app and navigate to the ‘Apps’ tab. If an update is available, click on the ‘Update’ button next to Premiere Pro. Once the update is complete, restart your computer and try opening the project again.
Step 4: Convert the Problematic Files
In some cases, the ‘Premiere Pro Media Offline’ error may occur due to incompatible file formats. Premiere Pro supports a wide range of file formats, but there may be instances where certain files can’t be recognized.
To fix this, you can try converting the problematic files to a compatible format using third-party software. There are several free online file converters available that can help you with this task. Simply upload the file and choose the desired output format, then download the converted file and import it into Premiere Pro.
Step 5: Contact Adobe Support
If none of the above steps resolve the ‘Premiere Pro Media Offline’ error, it’s time to reach out to Adobe Support for further assistance. Adobe has a dedicated support team that can help you troubleshoot and resolve any issues you may be experiencing with Premiere Pro.
To contact Adobe Support, visit their website and navigate to the ‘Support’ section. From there, you can initiate a live chat or submit a support ticket detailing your issue. Be sure to provide as much information as possible, including the steps you’ve already taken to troubleshoot the error.
By following these step-by-step instructions, you should be able to fix the ‘Premiere Pro Media Offline’ error and get back to editing your videos seamlessly. Remember, patience is key when troubleshooting software issues, so take your time and carefully follow each step. Happy editing!

