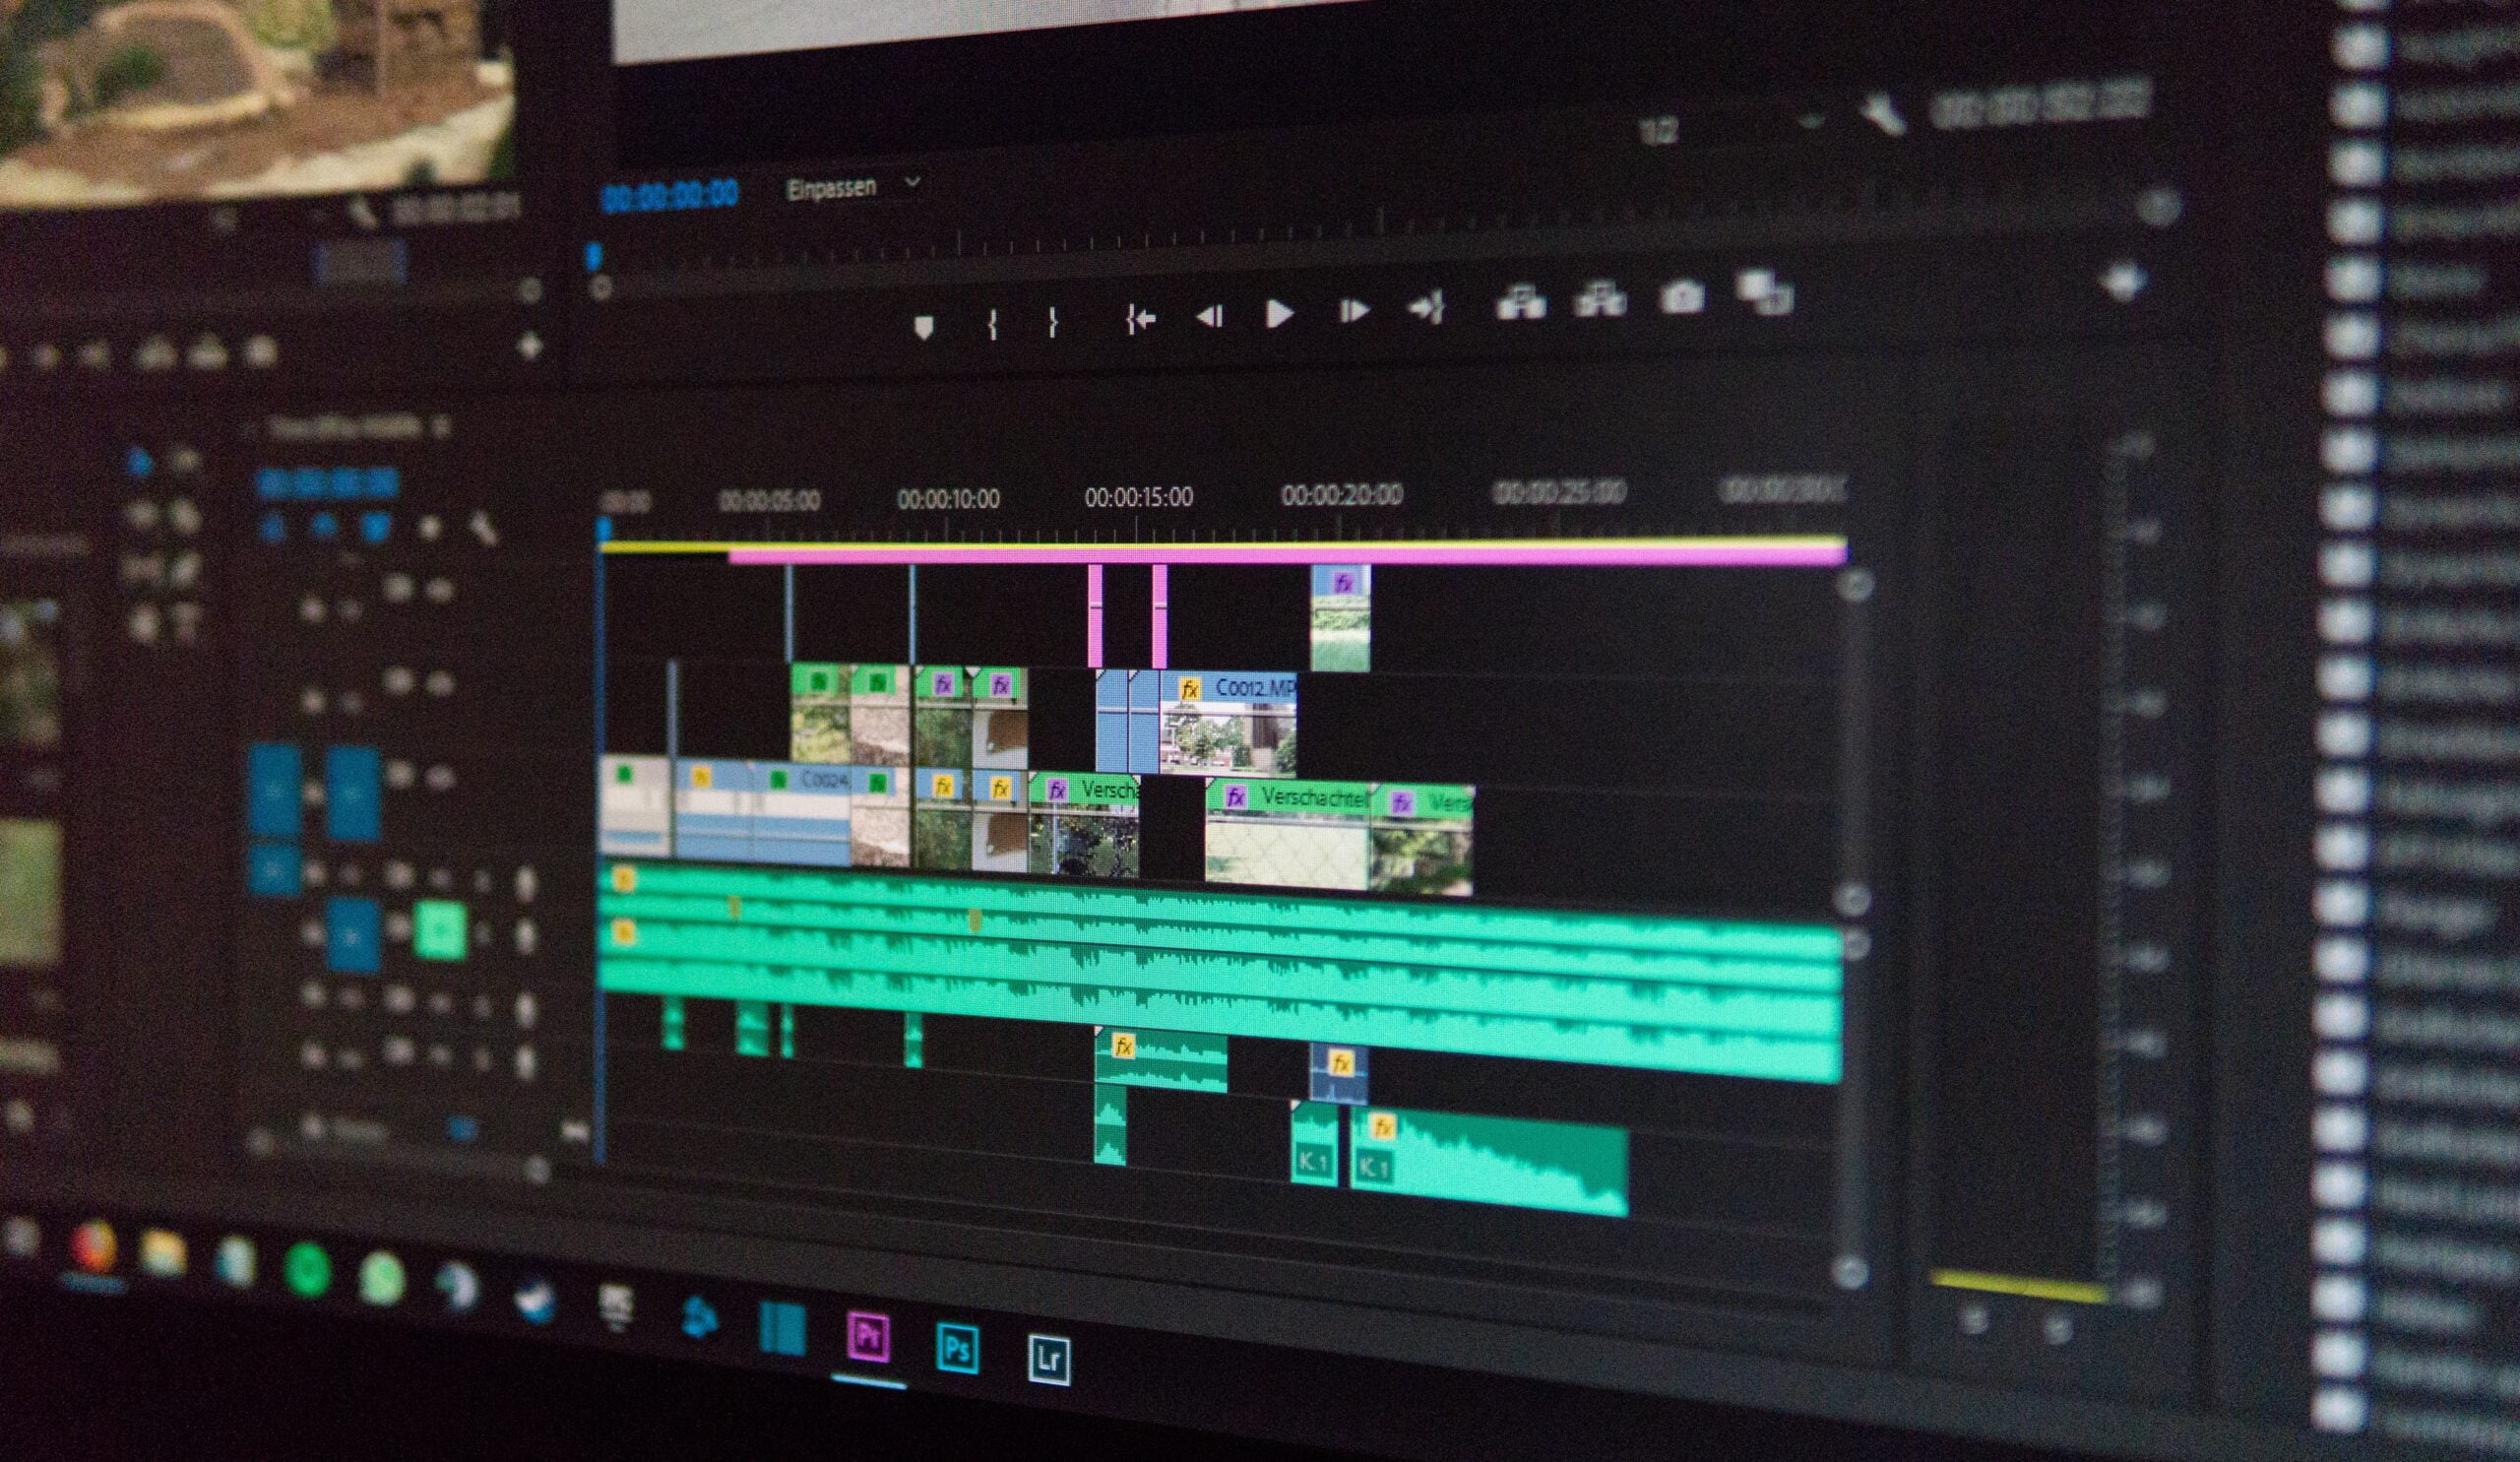
As a professional video editor, exporting your projects in Adobe Premiere Pro is a crucial step in the post-production process. However, encountering exporting problems can be frustrating and time-consuming. In this blog post, we will provide you with a troubleshooting guide to help you fix exporting problems in Premiere Pro.
1. Check System Requirements
First, ensure that your computer meets the minimum system requirements for exporting in Premiere Pro. Insufficient hardware specifications can cause exporting issues.
2. Update Premiere Pro
Make sure you have the latest version of Premiere Pro installed. Adobe frequently releases updates that address bugs and improve performance, including exporting problems.
3. Clear Cache Files
Over time, cache files can accumulate and cause exporting issues. Go to the Edit menu, select Preferences, and choose Media. Click on the Clean button to clear the cache files.
4. Adjust Export Settings
Review your export settings to ensure they are compatible with your project and intended output. Incorrect export settings can lead to problems, such as audio/video sync issues or file corruption.
5. Disable GPU Acceleration
If you are experiencing exporting problems, try disabling GPU acceleration. Go to the File menu, select Project Settings, and navigate to the General tab. Uncheck the box next to Use Hardware Acceleration (if available).
By following these troubleshooting steps, you should be able to resolve most exporting problems in Premiere Pro. Remember to save your project before attempting any fixes, and always keep backups of your files to avoid data loss.

